Rewardly free trial: what to set up on day 1, day 3 and day 10
The Rewardly free trial lasts 14 days. What to set up on day 1, day 3 and day 10, how the bank card check works and which plan to start on first.

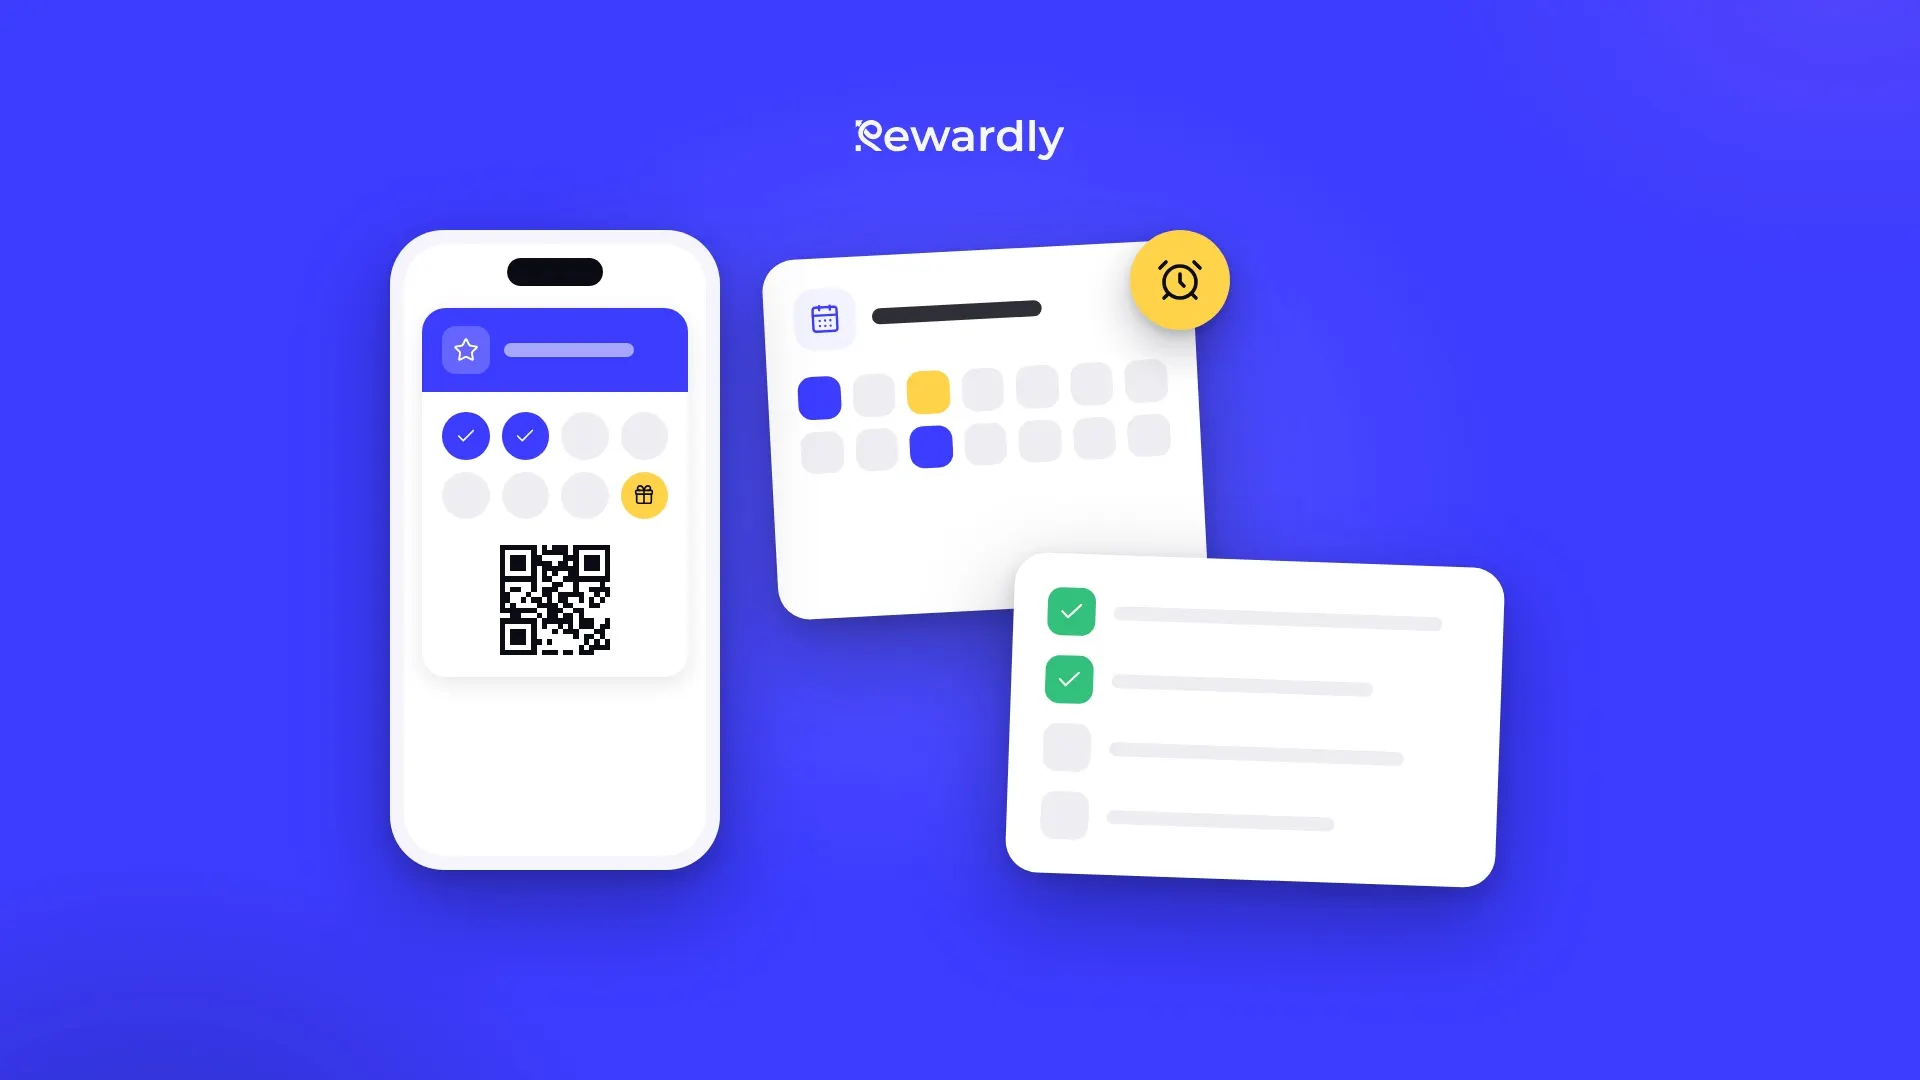
The Rewardly free trial lasts 14 days, which is enough to finish your card, welcome your first customers and read your first numbers. You get the most from it if you work in three stops: on day 1 the card and a test on your own phone, on day 3 your staff and your first customers, and on day 10 the numbers and the decision about your plan.
This plan contains only steps that exist in Rewardly, with the screen names as you will see them in the app. Each step says which plan it needs.
The short answer
- Day 1: create the card, fill in Brand and Locations, add the card to your own phone, scan it in the scanner and print the QR code for the counter.
- Day 3: invite staff with the Scanner role, start asking customers at the till and turn on the welcome message.
- Day 10: read the Overview and Customers tabs, fix what is not working and decide which plan to keep.
- Payment: a bank card is required at sign up, but during the trial it is only checked. It is charged after the trial ends. No upfront payment.
- Everything is included: during the 14 days you can try every feature, including push notifications, vouchers and the POS integration. When the trial ends, the plan you chose applies.
What the free trial includes and what happens on day 15
The trial starts when you pick a plan in the dashboard and start it. Until then your card is in preview: a banner tells you that only you can add the card to a wallet, and customers can join once the free trial starts.
Rewardly asks for a bank card but takes nothing from it for 14 days. When the trial ends, your chosen plan starts and is charged automatically. Rewardly sends you a reminder email 3 days and 1 day before the first payment. If you cancel before the end, the first payment does not happen. A payment that has already been taken is not refunded, not even on a yearly plan.
During the trial every feature is available to you, including ones your later plan will not have. After it ends, the plan you chose applies. Prices are per location per month, excluding VAT, and a yearly plan gives you two months free.
Plan | Price excl. VAT | What the plan includes after the trial |
|---|---|---|
Basic | €29.90 | cards, Brand, Locations, scanner, core analytics |
Advanced | €49.90 | everything in Basic, push notifications, POS integration, custom fields |
Professional | €79.90 | everything in Advanced, vouchers and more, see the pricing page |
You can try push notifications during the trial. After it ends they are included in Advanced and higher, not in Basic. You can change plan in Settings, under Billing. A downgrade takes effect from the next billing cycle.
Day 1: build the card, fill in your brand and test it on your own phone
The goal of day one is a card that you have added to your own wallet and scanned yourself. Creating the card takes about 2 minutes. The rest of the day is checking and printing.
- Create the card. The setup guide asks for your industry, goals and business name, and proposes a card in your colours. You then choose how customers earn (stamps, points, cashback or a discount), set the reward and adjust the design. You add more cards later under Loyalty programs and New loyalty program, in the steps Style, Design, Rules, Form and Launch.
- Fill in Brand. Under Settings and Brand, add your logo, colours and contact details. New cards and locations start from them. The logo appears in the header of the Apple Wallet card, and the square icon is used in Google Wallet and in notifications. You can search for your business on Google and the fields fill in.
- Add Locations. Under Settings and Locations, add every place where you serve customers. Visits are recorded at a location, and each location can have its own QR code, so you can see where customers join.
- Set the form. In the Form step you choose what customers share when they join: email, first name, last name, phone, birth date, location or your own custom fields. Ask only for what you will use. You need the birth date if you want to send a birthday message later.
- Add the card to your phone and scan it. The checklist on Home walks you through it: add the card to Apple Wallet or Google Wallet with the QR code, then open the scanner (the Scanner button on Home) and scan your own card. The card on your phone changes within a few seconds. The scanner needs an internet connection.
- Print the QR code. In the Share online panel, copy the link or download the QR code. Under Print and social, download the table tent in A4 for printing. Where to put it is covered in our post on QR code at the till or a link on Instagram.
Day 3: staff, first customers and the welcome message
By day three the card exists and works. Now it is about people.
- Invite your staff. Under Settings and Team, use Invite teammate and choose the role Scanner. Each person signs in to the scanner with their own account on a phone or tablet at the counter.
- Ask at the till. One short sentence to every customer is enough, for example: "Would you like our loyalty card? It takes 10 seconds to add."
- Watch Home. Until three customers have joined, Home shows the setup checklist. After that you see the dashboard. Everyone who joined is listed under Customers.
- Turn on the welcome message (after the trial, Advanced and up). Under Notifications choose New notification, the template Welcome and the trigger When a card is added. Every new card holder gets the message.
- Add a review link. On the back of the card you can add a link Leave a review that points to your Google review page. It works on every plan. For ways to ask, see how to get Google reviews from regulars.
Day 10: read the numbers and choose your plan
After ten days you have your first data. Open Home, the Overview tab, set the Timeframe to Weekly and look at four numbers: Visits, New members, Rewards redeemed and Value through loyalty. The Customers tab shows Total customers, Active customers and How often customers come back.
What to read from it:
- Few new members: the card is not reaching people. Check the QR code at the counter and the sentence your staff use.
- Enough members, few visits: customers have the card but are not reminded of it. Look at the reward and at whether staff scan on every visit.
- Turn on a first automation (during the trial, then Advanced and up). For example the Reward ready message or a birthday message.
- Connect your POS (during the trial, then Advanced and up). Under Settings and Integrations pick Papaya POS, Storyous, Portos or Dotykačka, and points or stamps are credited at payment with no scanning.
If you only want to focus on what matters most, use 5 loyalty program numbers to check monthly.
At the end, decide on your plan. If you did not need push or a POS connection, Basic is enough. If you used them and want to keep them, choose Advanced or higher. Customers keep their cards when your plan starts.
Days 2 and 4 to 9: what to do between the stops
Three stops are not enough if nothing happens in between. The other days have a simple rhythm:
- Check scanning every day. A customer who shows the card and gets no stamp or points has little reason to come back to it. Staff should scan on every visit, even when nobody asks.
- Open Home once a day. Until three customers have joined you see the checklist. After that you see the Overview with the Recent activity card, a live feed of events grouped into one story per visit: New member joined, Visited, Earned, Reward redeemed.
- Fix mistakes at once. If a stamp was missed, open the customer's profile under Customers and use Adjust balances with a reason. The change is recorded as a transaction and the card in the wallet updates.
- Change one thing at a time. You can edit the design and the reward text whenever you like. New cards show the change at once, and cards customers already hold update the next time the card changes, for example with the next stamp. Stamps already collected stay.
- Note what customers ask. What they ask at the counter belongs in the sentence staff say, or on the back of the card.
What the customer sees when they join
It helps to know what the customer goes through, because you can try it on yourself during the test:
- The customer scans the QR code with the phone camera or opens your link.
- A short form appears with the fields you chose in the Form step.
- An iPhone offers Apple Wallet and an Android phone offers Google Wallet. No app is downloaded.
- After a stamp is added, the card on the phone changes within a few seconds.
Two limits to say plainly. On a computer the join page shows only a QR code to scan with a phone, so a card cannot be added from a desktop. And Rewardly has no fallback card on the web for a phone without Apple Wallet or Google Wallet, so do not promise such a customer another way in.
An example: how a single location café could plan the trial
This is an illustration, not the results of a real business. The café wants a stamp card and a welcome message.
- Before the start: it picks the plan it wants to pay for after the trial. During the trial every feature is available, including the welcome message.
- Day 1: it creates the card, fills in Brand and one Location, adds the card to the owner's phone and scans it. It prints the table tent and puts it by the till.
- Day 3: it invites the barista with the Scanner role, agrees one sentence for offering the card and turns on the Welcome template.
- Days 4 to 9: the barista scans with every coffee, the owner opens Home once a day and fixes a forgotten stamp in the profile.
- Day 10: the owner opens the Overview with the Timeframe set to Weekly. If New members is low, the QR code moves. If there are members but few visits, the reward and the scanning habit get checked. Then comes the decision whether to stay on Advanced.
The most common mistakes in the trial
- Forgetting that your chosen plan applies after the trial. You can try push notifications at once, but after the trial only Advanced and higher include them. Decide on your plan in good time.
- Printing without a test. Always scan the code with your own phone from the distance customers will use. When printing, keep strong contrast between the code and its plate.
- Forgetting Locations. Visits are recorded at a location, and each location can have its own QR code.
- Not inviting staff. A card nobody scans never changes, and the customer sees no reason to keep it.
- Judging too early. After a week there are few numbers. Use them to find problems in placement and in the staff sentence, not as a final verdict.
- Printing a QR code for an invite only program. A printed QR code would open a closed page. Share invite links for such a program.
A quick checklist
- Day 1: card created, Brand and Locations filled in, form set, card on my phone, scanned in the scanner, QR code printed.
- Day 3: staff invited with the Scanner role, offer sentence agreed, welcome message on (after the trial, Advanced and up), review link on the back of the card.
- Day 10: looked at Visits, New members, Rewards redeemed and Active customers, decided on the plan and the first automation.
Frequently asked questions
Do I need a bank card for the Rewardly free trial?
Yes. A card is required at sign up, but during the 14 days it is only checked, not charged. You pay after the trial ends unless you cancel first.
Can customers join during the trial?
Yes, as soon as the trial has started. While the card is still in preview, only you can add it to your wallet.
Can I try push notifications during the trial?
Yes. During the trial you can try every feature, including push notifications. After it ends they are included in Advanced and higher, not in Basic.
What happens after 14 days?
Your chosen plan starts and is charged automatically. You get a reminder email 3 days and 1 day before the first payment. You can change plan at any time under Billing, and a downgrade applies from the next billing period.
How long does setting up the card take?
Creating the card takes about 2 minutes. A customer adds it to their wallet in about 10 seconds.
Can I change the card design and the reward after launch?
Yes. You can edit the design and the reward text. New cards show the change at once, and cards in wallets update the next time they change, for example with the next stamp. Collected stamps are not lost.
Can I have more cards or locations during the trial?
In preview, before the trial starts, there is one card, and you add more once the trial has started. The number of cards is not limited on any plan. Each location is part of the plan and is charged at the per location price. When you add a location the dashboard shows which number it becomes, and Stripe charges only the prorated part.
What if a card will not add on a customer's phone?
Try the QR code again in good light. The card is added only to Apple Wallet on an iPhone and Google Wallet on Android. For a phone with neither, Rewardly has no alternative.
Create your loyalty card in 2 minutes. Try Rewardly for €0
No upfront payment, 14 days free.